To implement Azure Active Directory using SAML, you must first configure SAML in Microsoft Azure Portal and then configure SAML Authentication in Logpoint.
To implement Azure Active Directory using SAML, first you need to:
in the Microsoft Azure Portal and then configure SAML Authentication in Logpoint .
Go to the Microsoft Azure Portal and log in with your credentials.
Go to Azure Active Directory from the navigation bar and click Enterprise applications.
Click All applications and + New application.
Search and click Azure AD SAML Toolkit.
Click Create.
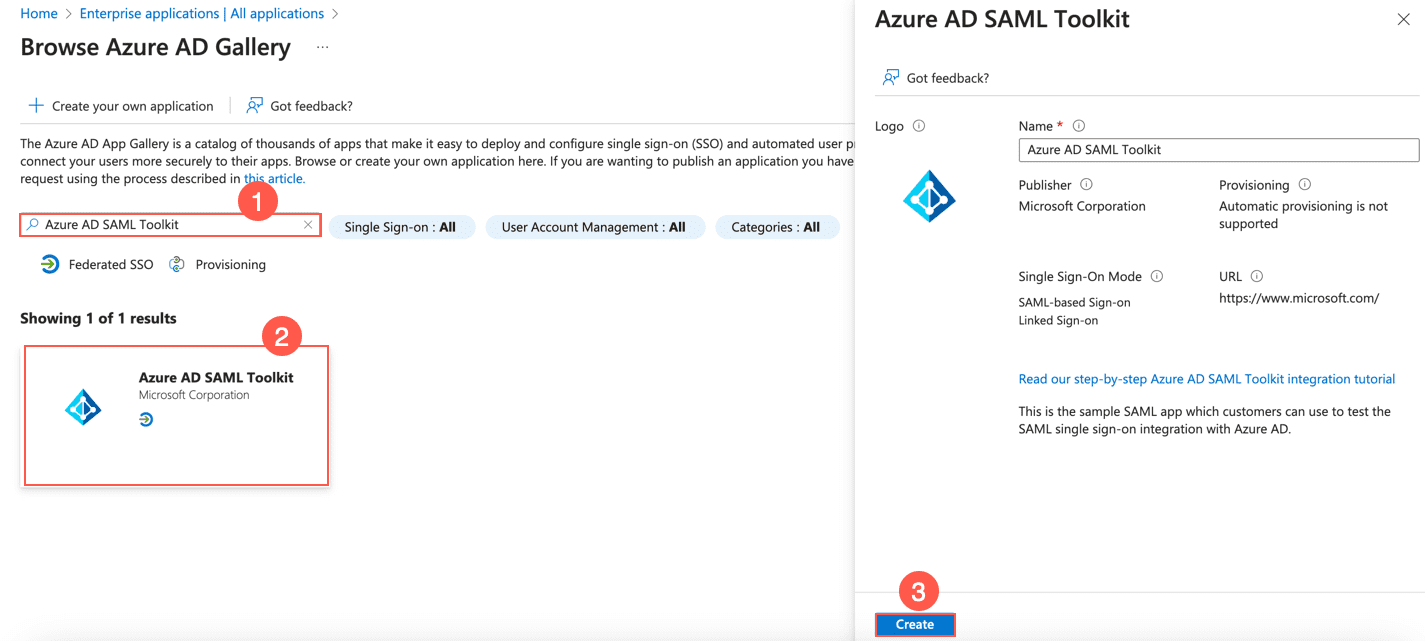
Adding Azure AD SAML Toolkit
Go to Azure Active Directory from the navigation bar of Microsoft Azure Portal and click Users.
Click the + New user drop-down and click Create a new user.
Enter the users information and click Review + create.
Click Create.
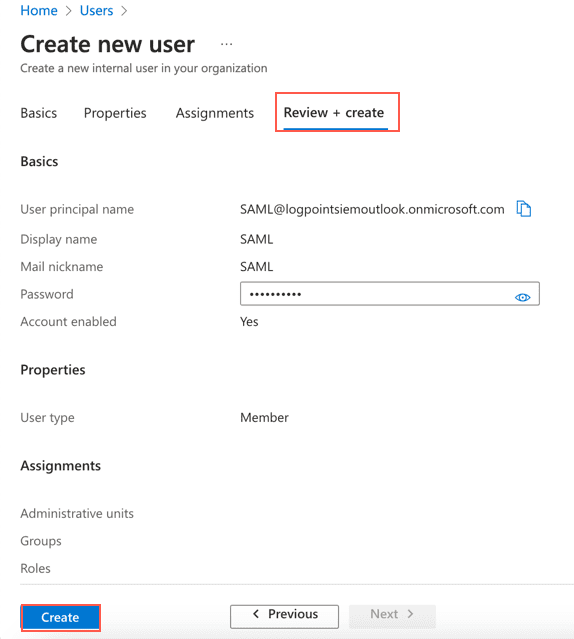
Creating a New User
Go to Azure Active Directory from the navigation bar of Microsoft Azure Portal and click Enterprise applications.
Click the previously added Azure AD SAML Toolkit.
Go to Users and groups from the navigation bar and click + Add user/group.
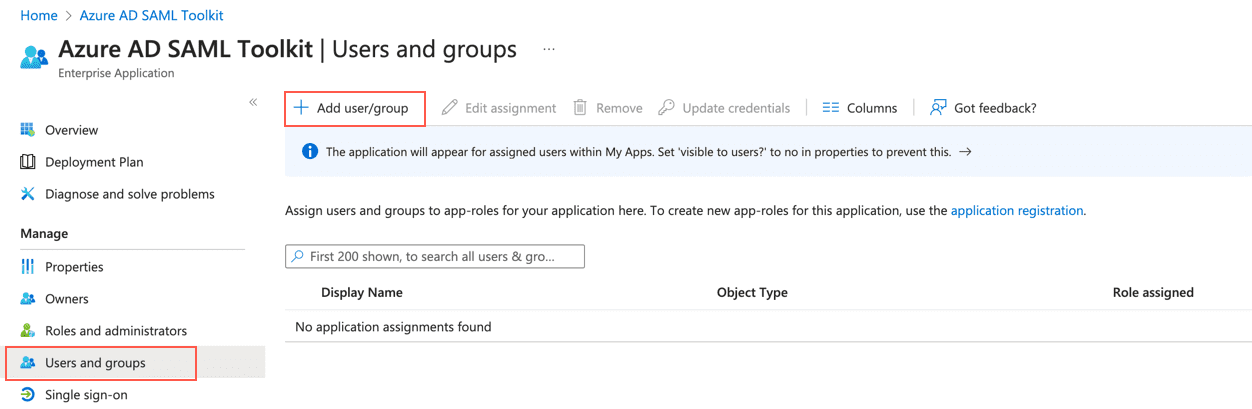
Adding User/Group
Click None selected under Users and groups.
Search for the user or group to assign to the application and select it.
Click Select and then Assign.
Go to Azure Active Directory from the navigation bar of Microsoft Azure Portal and click Enterprise applications.
Click the previously added Azure AD SAML Toolkit.
Go to Single sign-on from the navigation bar and click SAML.
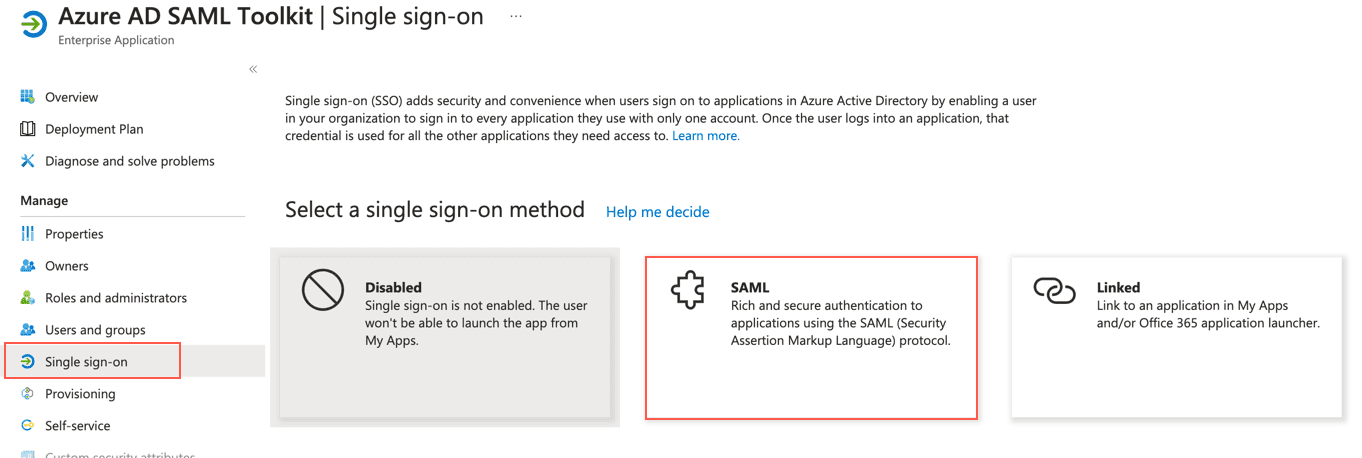
Enabling SAML
Click the edit icon of Basic SAML Configuration.
Click Add reply URL and enter https://samltoolkit.azurewebsites.net/SAML/Consume.
In Sign on URL, enter https://samltoolkit.azurewebsites.net/.
Click Save.

Adding URL
Note down the value of Identifier (Entity ID) of Basic SAML Configuration. You must enter it as Issuer (EntityID) while configuring SAML Authentication in Logpoint.
Search and Download the Certificate (Base64) of SAML Signing Certificate. You must enter it as X.509 Certificate while configuring SAML Authentication in Logpoint.
Note down the Login URL and Azure AD Identifier of Set up Azure AD SAML Toolkit. You must enter Login URL as SSO EndPoint URL and Azure AD Identifier as EntityID while configuring SAML Authentication in Logpoint.
The time zones of the IdP server and Logpoint must be identical.
Go to Settings >> System Settings from the navigation bar and click Plugins.
Find SAML Authentication and click Manage.
Click ADD SERVER.
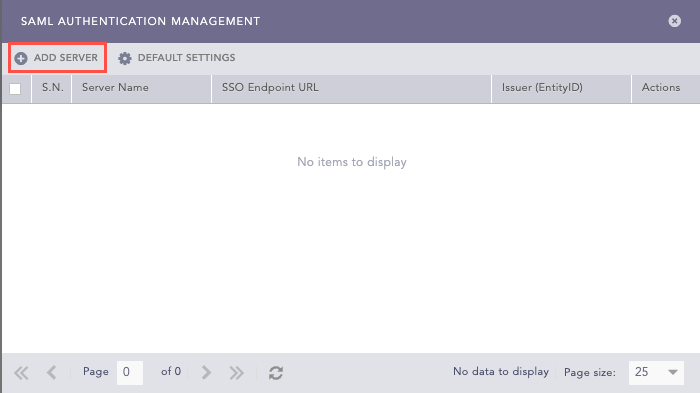
Add SAML Server
Enter a unique Server Name.
In Issuer (EntityID), enter the Logpoint’s IP address. You must add these Issuer (EntityID) and ACS (Consumer) URL in your IdP server. For Shibboleth, you must download the Logpoint metadata file and upload it in its server.
SAML Authentication generates the ACS (Consumer) URL automatically.
Enter the EntityID. You can find it in your IdP metadata file as entity ID.
Enter the SSO EndPoint URL. You can find it in your IdP metadata file as Location in SingleSignOnService. The SingleSignOnService must be HTTP-POST.
Enter the X.509 Certificate. You can find it in your IdP metadata file as the signing certificate. For Shibboleth, you can find it as the FrontChannel signing certificate.
In Response Username Field, enter the field to extract the username from the SAML response.
In Response Role Field, enter the field to extract the role from the SAML response.
Click Save.
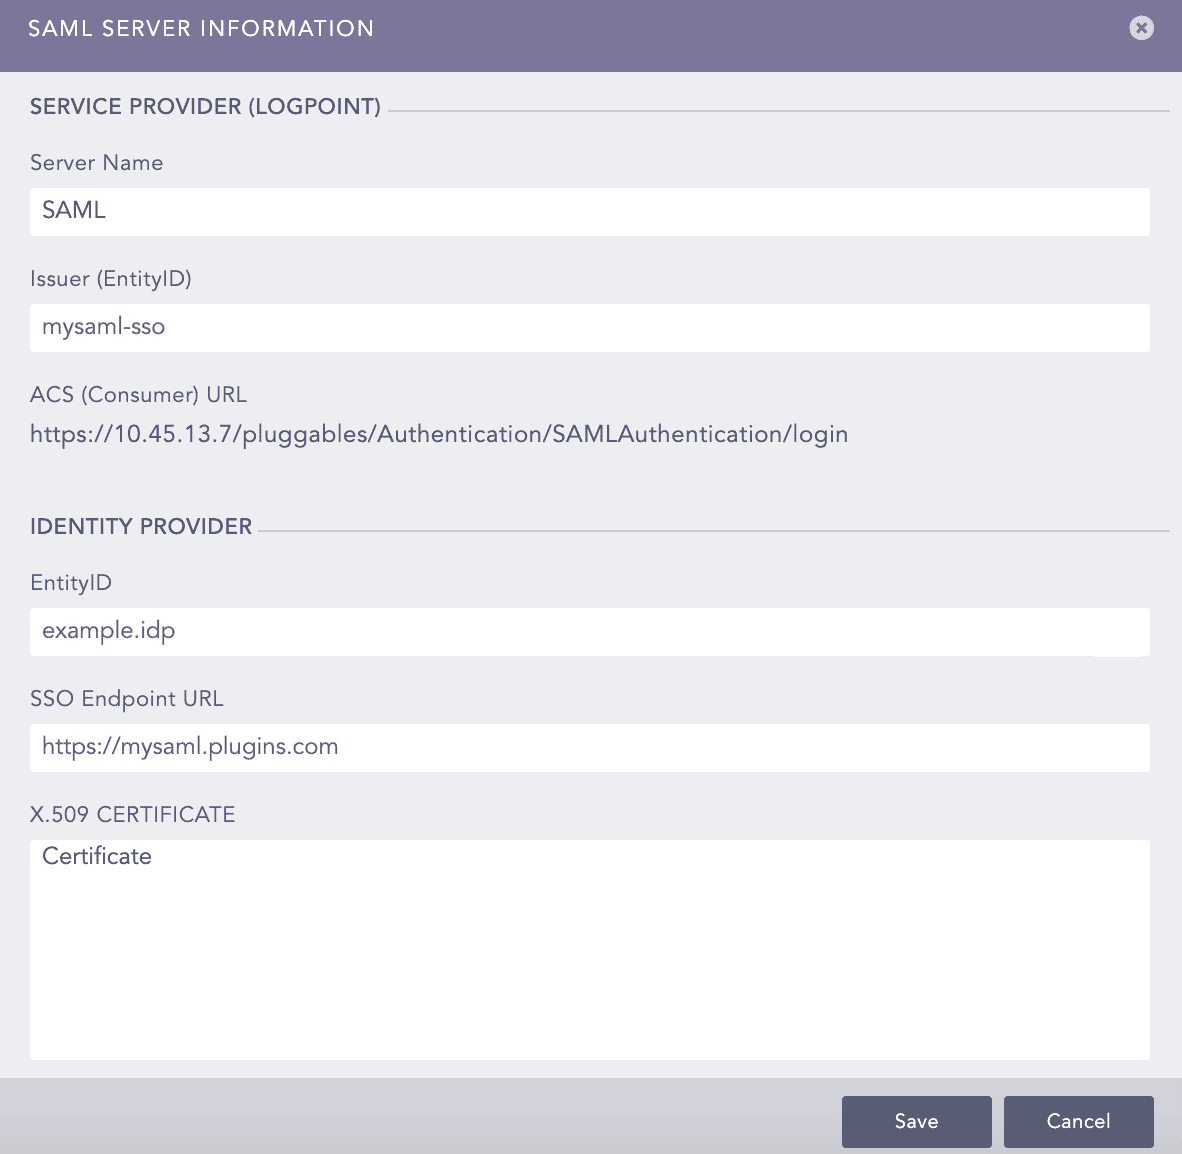
Adding an IdP Server
Click Yes to make SAML authentication as the default authentication. Otherwise, click No.
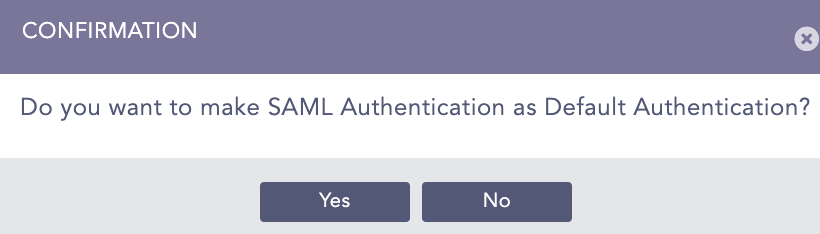
Select Authentication
Once you add an IdP server, Role Mapping is added and Add Server is removed in SAML Authentication management.
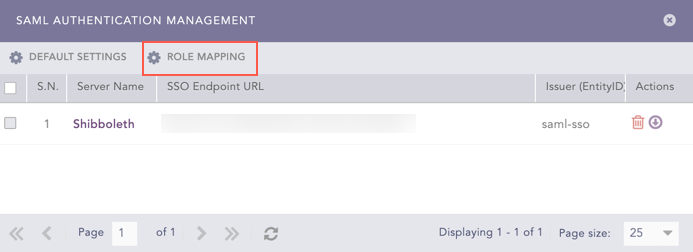
SAML Authentication Management
Go to Settings >> System Settings from the navigation bar and click Plugins.
Find SAML Authentication and click Manage.
Click Default Settings.

SAML Authentication Management
Select a Logpoint user group as the Default Role. SAML Authentication assigns the user group to the SAML Authentication users whose role attribute are not returned by the IdP server.
Click Save.
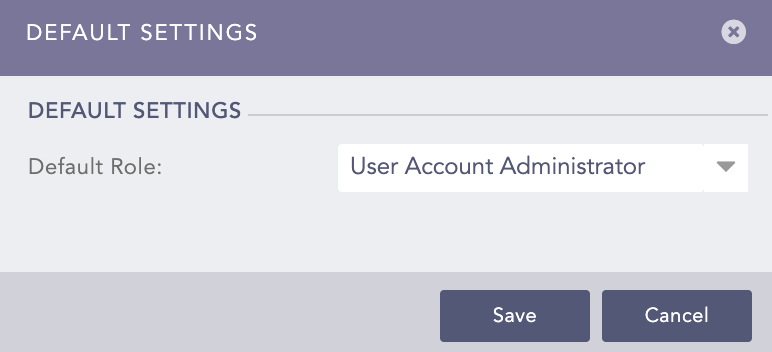
Default Settings
Go to Settings >> System Settings from the navigation bar and click Plugins.
Find SAML Authentication and click Manage.
Click the Download icon from Actions.
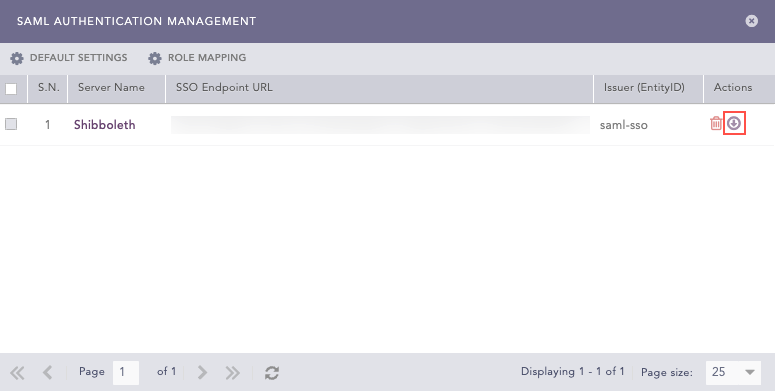
Downloading Logpoint Metadata
You can map a SAML role to a Logpoint user group to grant access permission in Logpoint. A SAML role can be mapped to a single Logpoint user group only. This is mandatory.
To map a SAML role to a Logpoint user group:
Go to Settings >> System Settings from the navigation bar and click Plugins.
Find SAML Authentication and click Manage.
Click Roles Mapping.
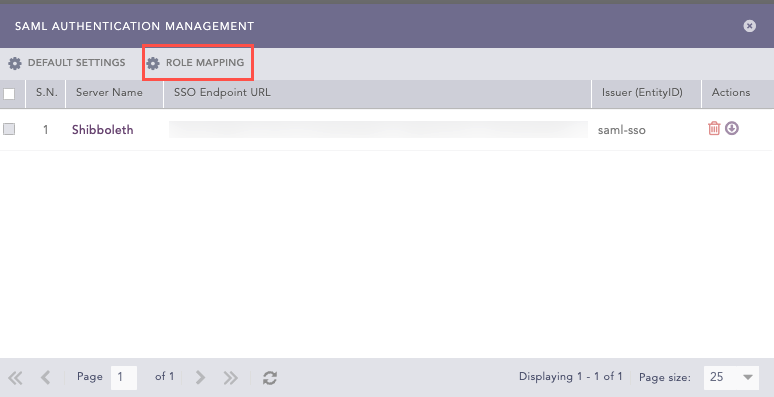
Role Mapping
Enter a SAML Role.
Select a LogPoint User Group for the provided SAML role.
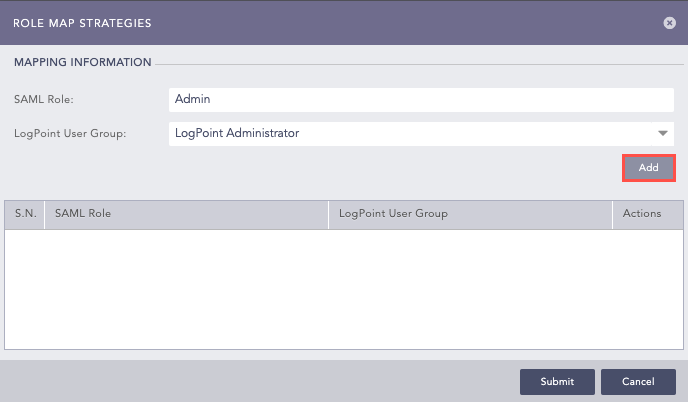
SAML Role Mapping
Click Add.
You can view all the mapped SAML roles and Logpoint user groups in Role Map Strategies. You can either edit or delete them from Actions.
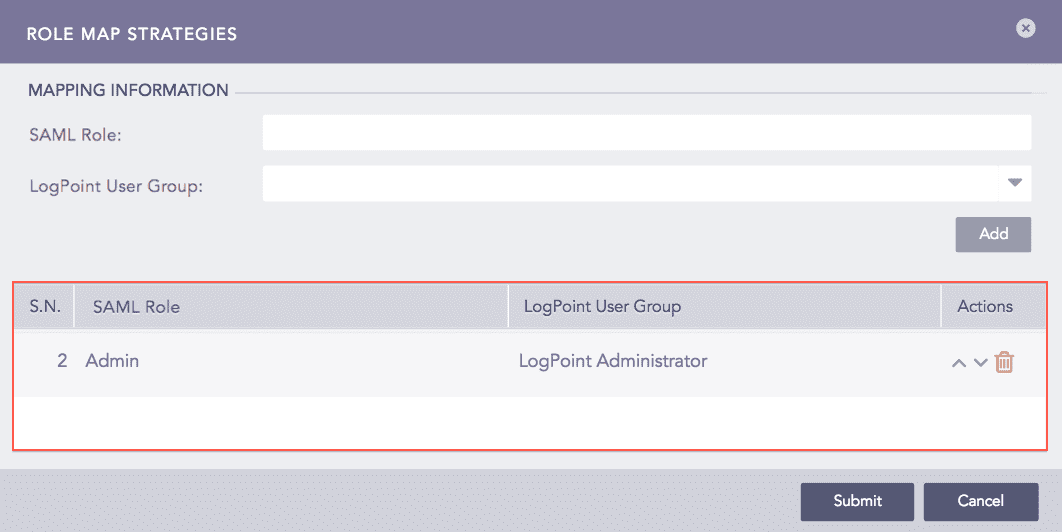
SAML Roles
Click Submit.